Using the a9s Elasticsearch
This section describes how developers use a9s Elasticsearch.
Use a9s Elasticsearch with an Application
To use a9s Elasticsearch with an application, create a service instance and bind the service instance to your application. For more information on managing service instances, refer to Managing Service Instances with the cf CLI.
View the a9s Elasticsearch Service
After the service is installed, you can see the elasticsearch5 and its service plans appear in your CF marketplace. Run cf marketplace to see the service listing:
$ cf marketplace
Getting services from marketplace in org test / space test as admin...
OK
service               plans                                                     description
elasticsearch5    elasticsearch-xs, elasticsearch-m,  This is the anynines Elasticsearch 5 service.
Create a Service Instance
To provision an Elasticsearch database, run cf create-service. For example:
cf create-service elasticsearch5 elasticsearch-xs my-elasticsearch-service
Depending on your infrastructure and service broker utilization, it may take several minutes to create the service instance.
Run the cf services command to view the creation status. This command displays a list of all your service instances. To view the status of a specific service instance, run cf service NAME-OF-YOUR-SERVICE.
Bind an Application to a Service Instance
After your database is created, run cf bind-service to bind the service to your application:
cf bind-service elasticsearch-app my-elasticsearch5-service
Restage or Restart Your Application
To enable your application to access the service instance, run cf restage or cf restart to restage or restart your application.
Obtain Service Instance Access Credentials
After a service instance is bound to an application, the credentials of your Elasticsearch database are stored in the environment variables of the application. Run cf env APP-NAME to display the environment variables.
You can find the credentials in the VCAP_SERVICES key.
cf env elasticsearch-app
Getting env variables for app elasticsearch-app in org test / space test as admin...
OK

System-Provided:
{
  "VCAP_SERVICES": {
   "elasticsearch5": [
    {
      "credentials": {
       "host": [
        "EXAMPLE_HOST"
       ],
       "password": "EXAMPLE_USER",
       "username": "EXAMPLE_PASSWORD"
     },
     "label": "elasticsearch5",
     "name": "my-elasticsearch-service",
     "plan": "elasticsearch-xs",
     "tags": [
      "searchengine"
     ]
    }
   ]
  }
}
...
You can use the host, username and password values to connect to your database with a Elasticsearch client.
Delete an Elasticsearch Service Instance
Warning
Before deleting a service instance, you must backup data stored in your database. This operation cannot be undone and all the data is lost when the service is deleted.
Before you can delete a service instance, you must unbind it from all apps.
List Available Services
Run cf services to list your available services.
$ cf services

Getting services in org test / space test as admin...
OK

name                       service              plan                         bound apps              last operation
my-elasticsearch-service   elasticsearch5   elasticsearch-xs   elasticsearch-app   create succeeded
This example shows that my-elasticsearch-service is bound to the elasticsearch-app application.
Unbind a Service Instance
Run cf unbind-service to unbind the service from your application.
cf unbind-service elasticsearch-app my-elasticsearch-service
Delete a Service Instance
After unbinding the service, it is no longer bound to an application. Run cf delete-service to delete the service:
cf delete-service my-elasticsearch-service
It may take several minutes to delete the service. Deleting a service deprovisions the corresponding infrastructure resources. Run the cf services command to view the deletion status.
Upgrade the Service Instance to another Service Plan
Once created, you can upgrade your service instance to another larger service plan. A larger service plan provides more CPU, RAM and/or storage. The plans also differ in availability. For more information, refer to Service Plans.
cf update-service my-elasticsearch-service -p a-bigger-plan
Here are the plans you can upgrade to depending on the one you are currently using:
| From / To | xs | s10 | m50 | s10_ha | m | m150_ha |
|---|---|---|---|---|---|---|
| xs | - | yes | yes | yes | yes | yes |
| s10 | no | - | yes | yes | yes | yes |
| m50 | no | no | - | no | yes | yes |
| s10_ha | no | no | no | - | yes | yes |
| m | no | no | no | no | - | yes |
| m150_ha | no | no | no | no | no | - |
The left column shows your current plan and the first row shows the target plan.
Example:
If your current plan is elasticsearch-s10, it is possible to upgrade to elasticsearch-m50, elasticsearch-s10_ha, elasticsearch-m and elasticsearch-m150_ha, but it is not possible to upgrade to elasticsearch-xs.
Add a Graphite Endpoint
If you want to monitor your service with Graphite, you can set an endpoint to where the information will be sent with the cf update-service command. This command expects the -c flag and a JSON string containing the graphite and metrics_prefix keys. Depending on your graphite provider the metrics_prefix might require that each metrics must start with an API key in their name. You can also change the interval within the data is send to the endpoint. Do to this modify interval the default is 10s.
cf update-service my-elasticsearch-service -c '{ "graphite": ["yourspace.your-graphite-endpoint.com:12345"], "metrics_prefix": "your-api-key.my-cluster-elasticsearch", "interval": "5"}'
Info
Logging is only possible for service plans that have the Logging component enabled. For more information, refer to Service Plans.
You can delete the graphite endpoint settings by calling update-service with an empty array.
cf update-service my-elasticsearch-service -c '{ "graphite": []}'
Add a Syslog Endpoint
The cf update-service command used with the -c flag can let you stream your syslog to a third-party service. In this case, the command expects a JSON string containing the syslog key. You can also change the interval for the syslog with the same key used to specify graphite interval.
cf update-service my-elasticsearch-service -c '{ "syslog": ["logs4.your-syslog-endpoint.com:54321"], "interval": "5" }'
Info
Logging is only possible for service plans that have the Logging component enabled. For more information, refer to Service Plans.
You can delete the syslog endpoint settings by calling update-service with an empty array.
cf update-service my-elasticsearch-service -c '{ "syslog": []}'
Cloud Foundry Application Security Groups
This section describes how to check whether a security group was created.
Each a9s Data Service will automatically create and update Cloud Foundry security groups in order to protected service instances to be accessed by applications not running in the same Cloud Foundry applications space. To get a better understanding about Security Groups, refer to Understanding Application Security Groups.
Get Service Instance GUID
Run cf service INSTANCE_NAME --guid to get the guid of the service instance.
$ cf service my-elasticsearch --guid
ca16f111-5073-40b7-973a-156c75dd3028
Check available Security Groups
To see all available security groups use cf security-groups.
$ cf security-groups
Getting security groups as demo@anynines.com
OK

     Name                                         Organization     Space
#0   public_networks
#1   dns
#2   tcp_open
#3   guard_432fb752-876d-443b-a311-a075f4df2237   demonstrations   demo
#4   guard_ca16f111-5073-40b7-973a-156c75dd3028   demonstrations   demo
There you can see a security group named guard_ca16f111-5073-40b7-973a-156c75dd3028 was successfully created.
Note
If the connection between the application and the service instance cannot be established, check if a security group was created.
Backup and Restore Service Instances, Download Backups
a9s Elasticsearch provides an easy way to create backups and restore if needed.
Get Dashboard Address, Login and Authorize
- Get the dashboard URL with
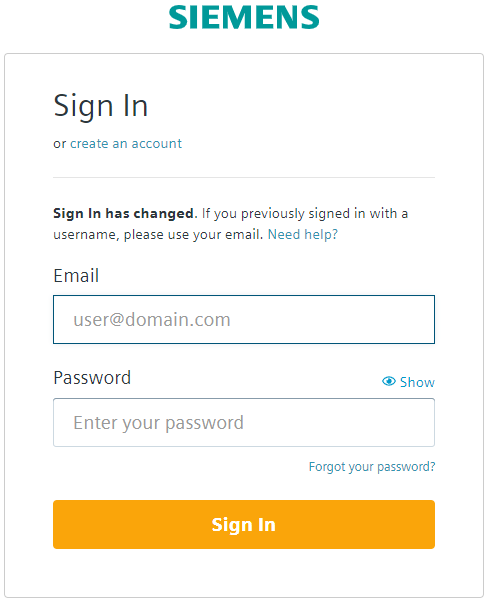
cf service SERVICE-NAME.$ cf service my-elasticsearch Service instance: my-elasticsearch Service: elasticsearch Bound apps: Tags: Plan: elasticsearch-xs Description: This is a service creating and managing dedicated Elasticsearch service instances and clusters, powered by the anynines Service Framework Documentation url: Dashboard: https://elasticsearch-dashboard.aws.ie.apps.eu1.mindsphere.io/service-instances/ca16f111-5073-40b7-973a-156c75dd3028 Last Operation Status: update succeeded Message: Started: 2017-10-26T08:28:38Z Updated: 2017-10-26T08:28:38Z - Enter the dashboard URL into your browser and authenticate with your WebKey user.
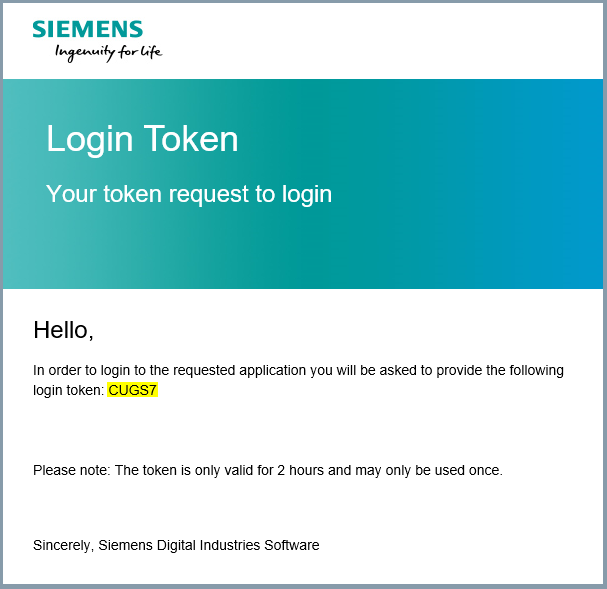
- You will be prompted to enter your login token.
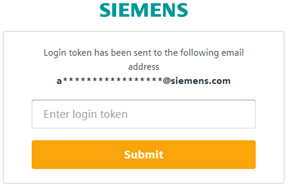
The login token will be sent to you by email. Copy your login token from email and paste it in "Enter login token" field. Click Submit.
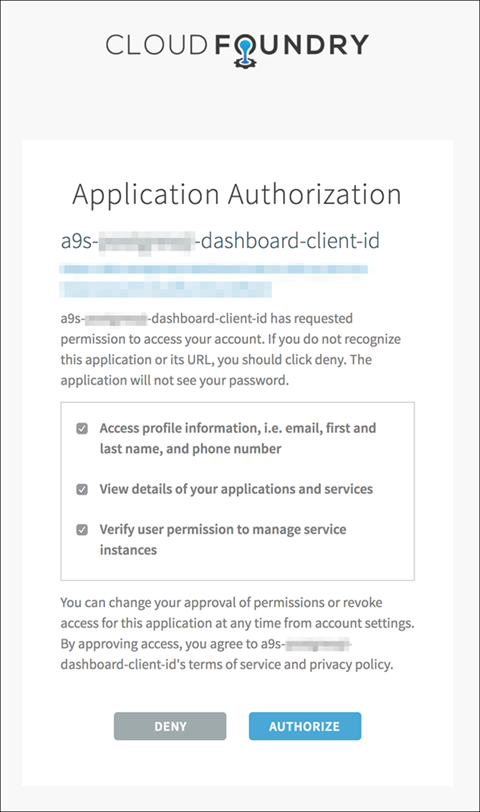
- Click Authorize to approve the authorization request.
Perform a Backup
On the dashboard, you can trigger a backup by clicking on the Settings icon and selecting Manually Trigger A Backup.
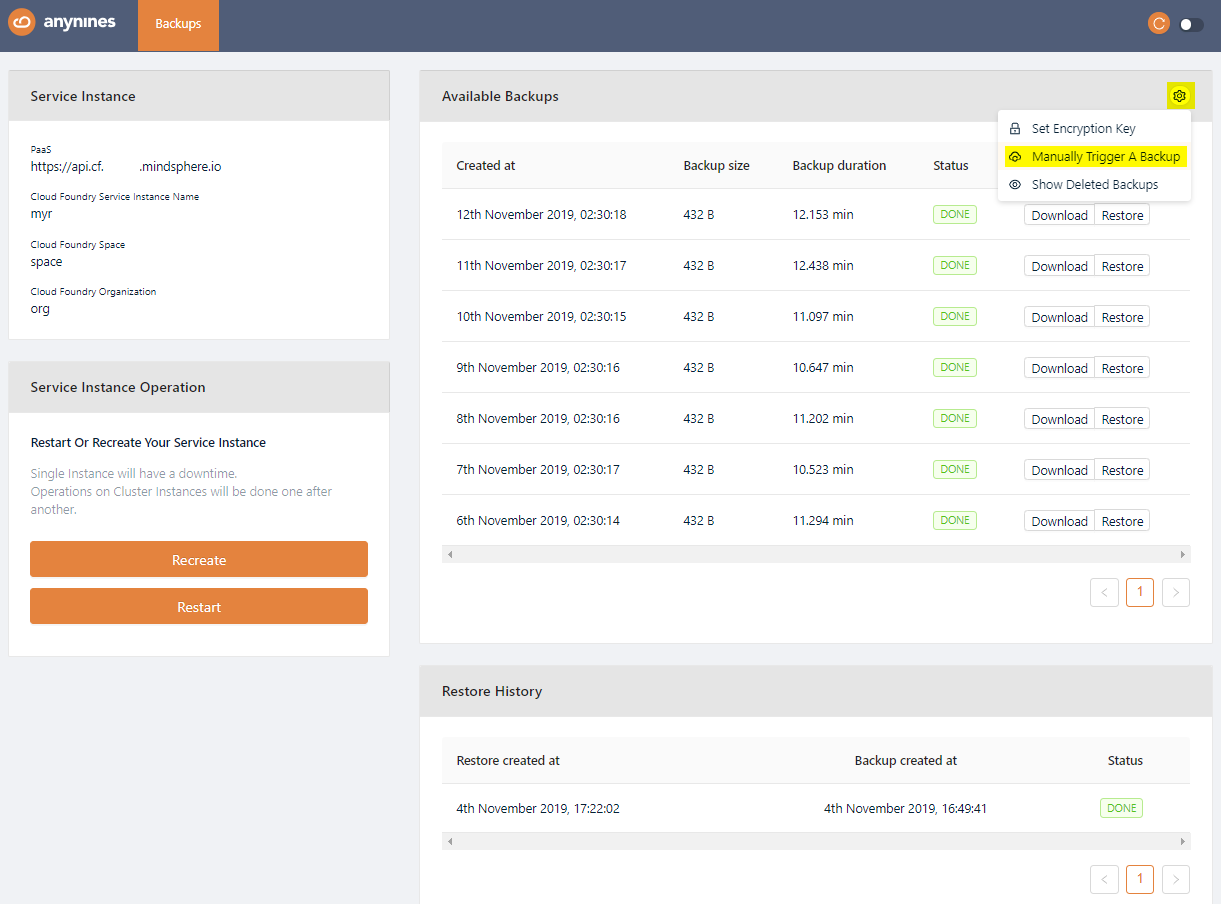
After a short period of time, the backup will be queued. The backup process will start soon.
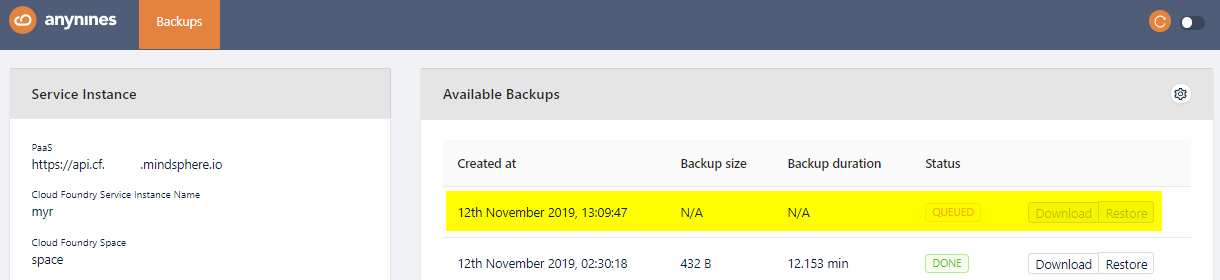
Note
Depending on the size of the data, the backup might take some time.
Restore a Backup
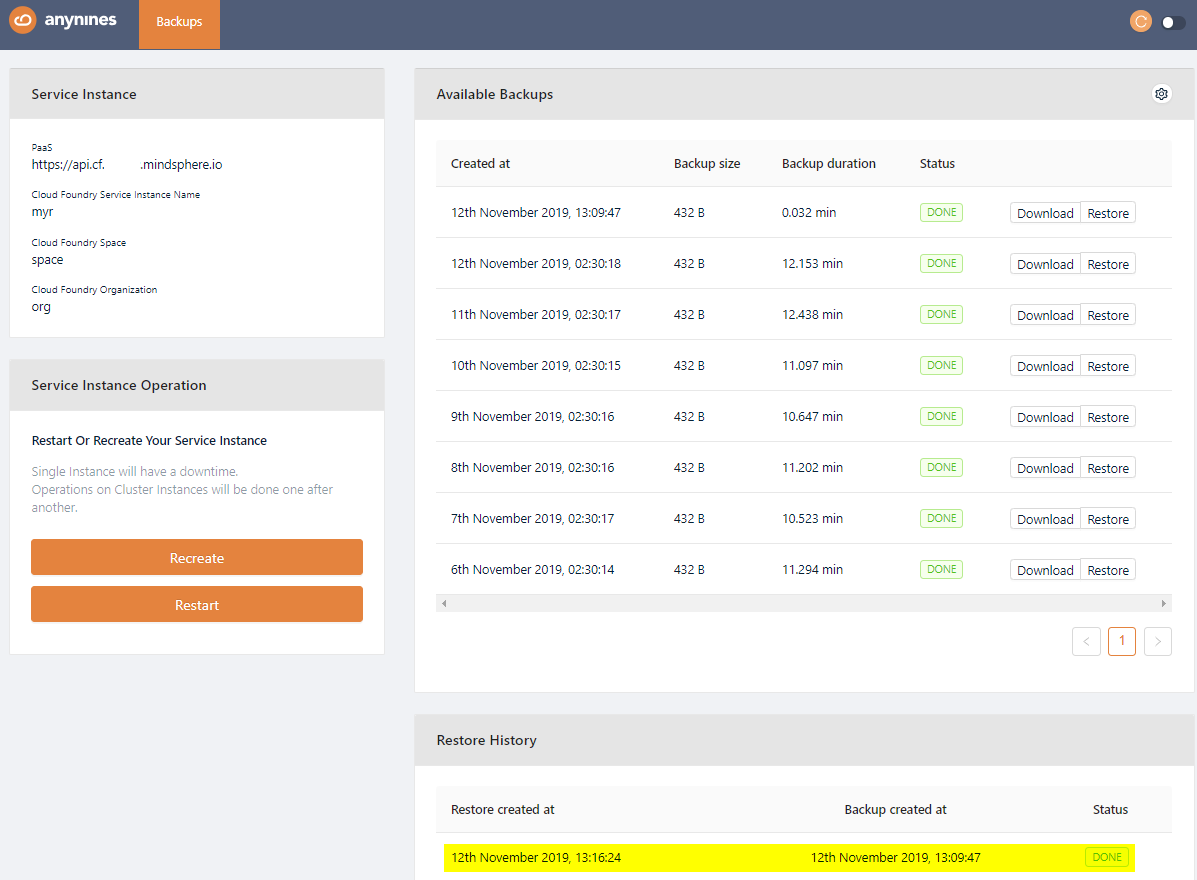
Open the dashboard again and select the backup you would like to restore. Click the Restore button of the backup. After a short period of time the restore will be triggered.
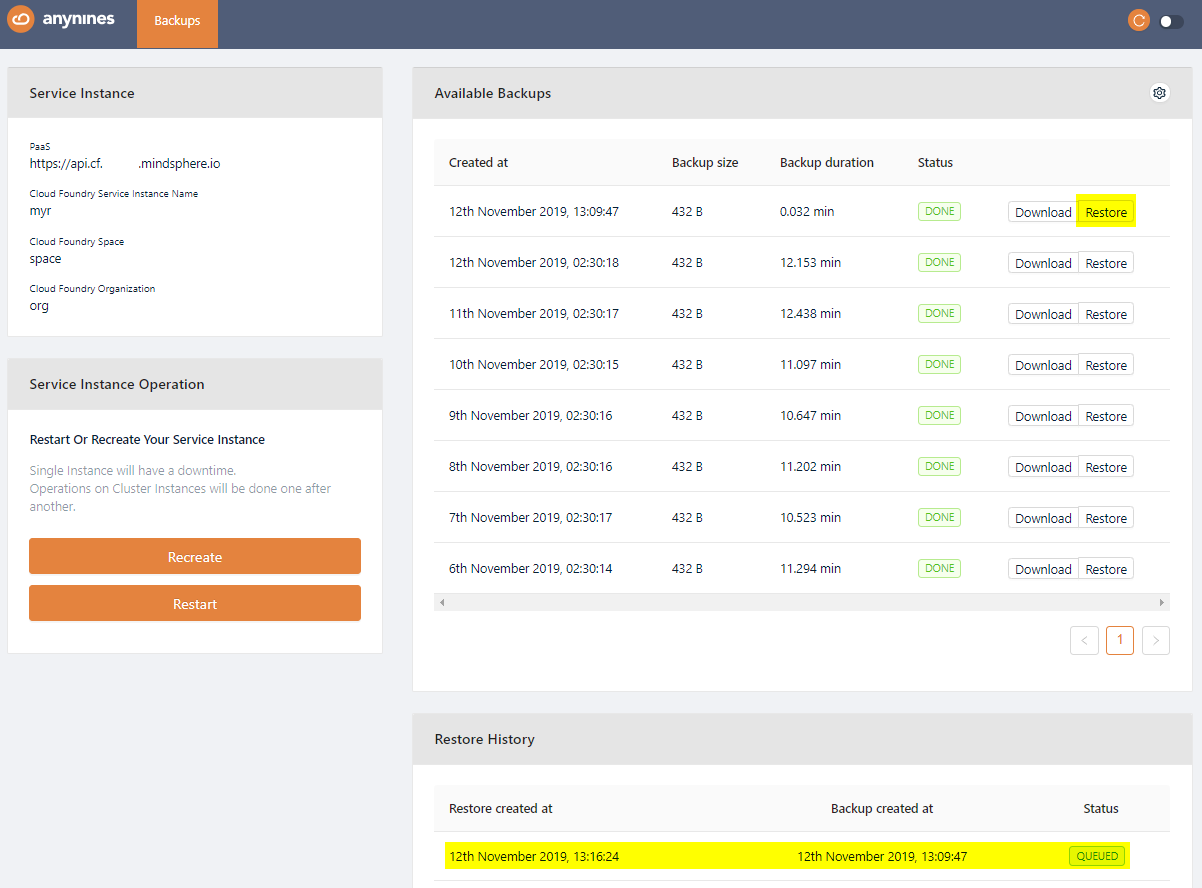
Note
Depending on the size of the data the restore might take some time.
Download a Backup
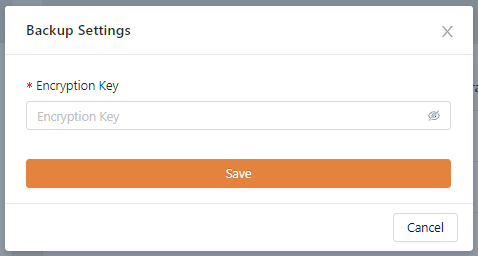
To be able to download a performed backup, you first have to set a personal encryption key. Otherwise a performed backup is not downloadable.
To set a personal encryption key, open the Service Dashboard for the appropriate Service Instance as shown above. Click the Setting icon and Set Encryption Key button.

Set the encryption key and click the Save button. The minimum length for the encryption key is 8 characters.
The newly created backup will now show a Download button. Click on this button to download a backup.

Note
If you change your personal encryption key, you will no longer be able to download performed backups encrypted with your old personal encryption key.
Make a Service Instance Locally Available
It is possible to access any of the a9s Data Services locally. That means you can connect with a local client to the service for any purpose such as debbuging. CF provides a smart way to create SSH forward tunnels via a pushed application. For more information about this feature, refer to Accessing Apps with SSH.
First of all you must have an application bound to the service. For instructions on how to do this, refer to Bind an Application to a Service Instance.
Note
cf ssh support must be enabled in the platform. Ask your administrator if you are not sure.
Get The Service URL and Credentials
When you follow this instructions Obtain Service Instance Access Credentials you will get the hostname of the service and the user credentials.
$ cf env elasticsearch-app
Getting env variables for app elasticsearch-app in org test / space test as admin...
OK

System-Provided:
{
  "VCAP_SERVICES": {
   "elasticsearch5": [
    {
      "credentials": {
       "host": [
        "d67901c.service.dc1.a9svs"
       ],
       "password": "brk-usr",
       "username": "password"
     },
     "label": "elasticsearch5",
     "name": "my-elasticsearch-service",
     "plan": "elasticsearch-xs"
    }
   ]
  }
}
...
Notice the host d67901c.service.dc1.a9svs, the username brk-usr and the password password. You will need this in the next step.
Create a Tunnel to The Service
With the cf ssh as mentioned before you can create a ssh forward tunnel to the management dashboard. Use port 9200 to connect to the a9s Elasticsearch Instance.
$ cf ssh elasticsearch-app -L 9200:d67901c.service.dc1.a9svs:9200
vcap@956aaf4e-6da9-4f69-4b1d-8e631a403312:~$
When the ssh tunnel is open you can access the instance over the address localhost:9200.
Note
Don't forget to close the session with exit.
Except where otherwise noted, content on this site is licensed under the Development License Agreement.