Application examples on node properties
Some examples have been described below to explain the dashboard node properties.
Example 1 - Message input passes to output
Let us consider a simple example considering the switch node.
-
Inject the timestamp node to the switch node and connect it to a msg.payload output.

-
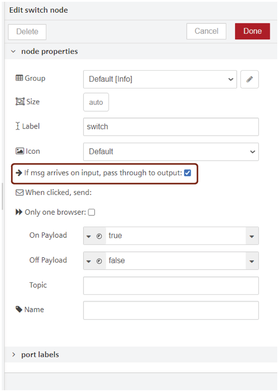
Select the "If msg arrives on input, pass through to output:" check box.
Result
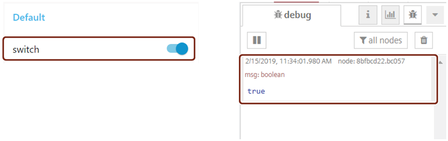
The "If msg arrives on input, pass through to output:" check box is selected: The output will be displayed in the debug tab depending on the toggling of the switch in the dashboard window browser.
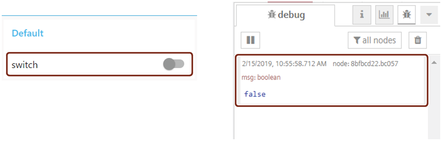
The "If msg arrives on input, pass through to output:" check box is not selected: The output will not be displayed in the debug tab when you toggle the switch in the dashboard window browser.
Example 2 - Flows on usage of a single and multiple browsers
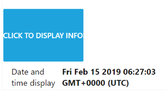
Define a function which generates today's date. Given below are the examples which differentiates the single and multiple browser concept.
-
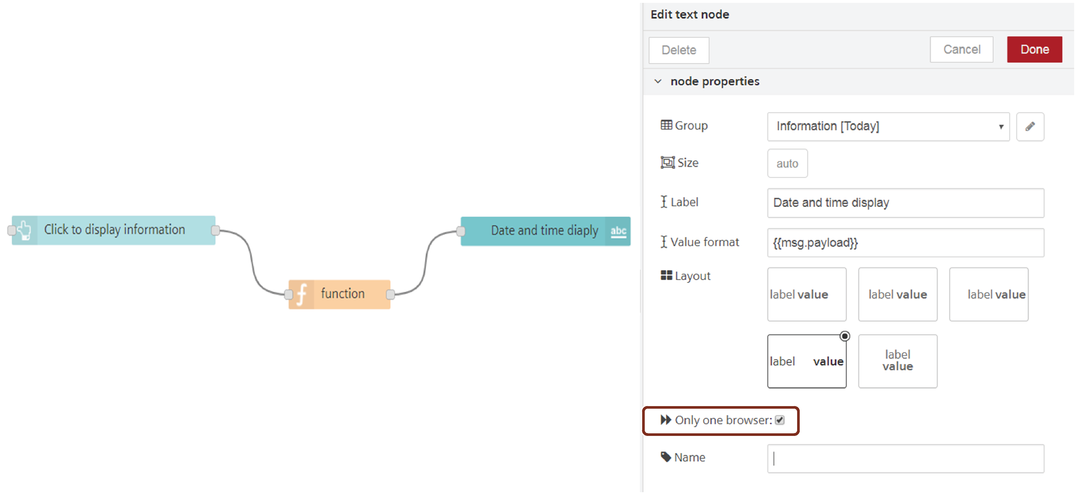
Select the "only one browser" check box of the last node (text node) from the given flow:
-
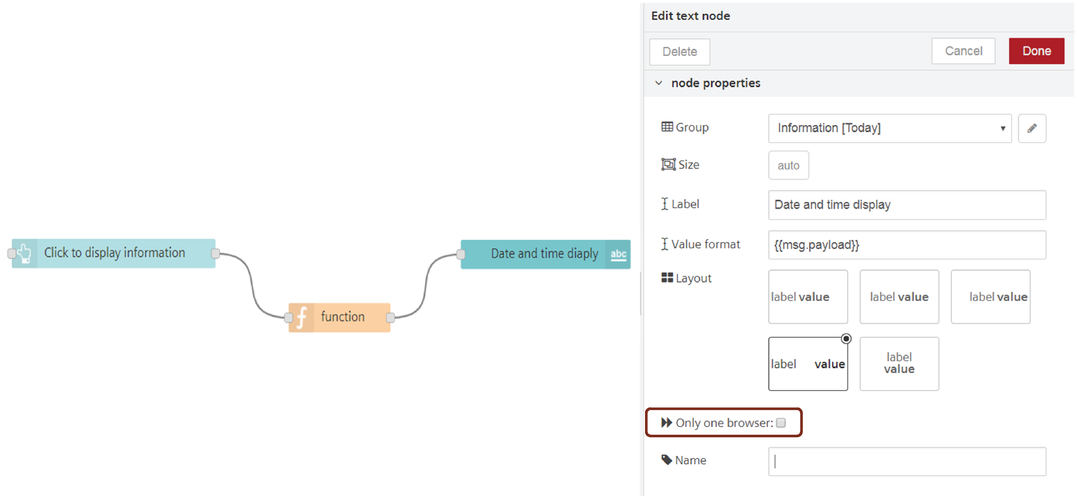
Clear the "only one browser" check box of the last node (text node) from the given flow:
-
Open the dashboard from the menu
 icon.
icon. - Open two dashboard browsers to compare the flows.
Result
The "Only one browser" check box is selected: When you click the button (click to display information) node in the first browser, you get the output only for the clicked respective browser. You have to click the button node of the other browser separately to get its output.
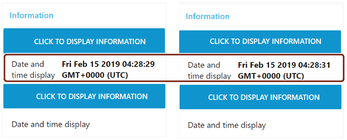
Note that the date and time display has seconds difference in time because the buttons in both the browsers were clicked individually.
The "Only one browser" check box is not selected: When you click the button (click to display information) node in any browser, output of all the opened browsers will be displayed simultaneously.
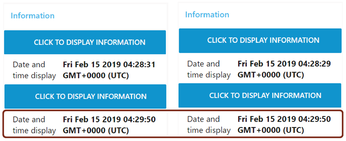
Here, the date and time display has no time difference because only one button click in any of the browsers displayed the output at the same time.
Example 3 - Configure size
Considering the size of dashboard nodes in "Example 2", by default the button node size is set to "auto". To configure the button node to different size, open properties and select the size to different number, for example "3x2" as shown below:

Result
The size of the button will be changed and the button will be displayed with the size set in the properties.