Customize the OS Bar with "Provider"
Overview of OS Bar
The OS Bar provides the following information:
- Company and tenant information
- Application information
- Insights Hub information
The information varies whether you are looking at the OS Bar from the Launchpad or in the application. In order to view the information, click on respective name in the OS bar. The information is displayed as a drop down menu.
Company and tenant information
You can customize the following company information in Settings:
- Your company logo
- Your company name
- Tenant provider links
You can edit the tenant provider links in different languages.
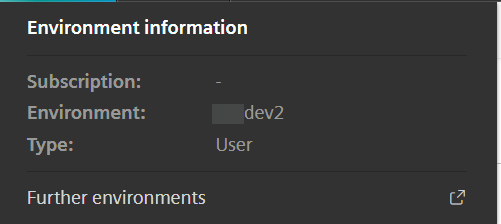
Furthermore, the following information is displayed:
- Environment name
- Environment type
- Subscription
- Further environments
You can specify this information when ordering the environment. In Settings this information cannot be edited.
The following graphic shows the company and environment information displayed in the OS Bar:
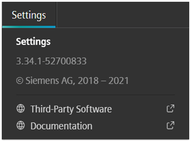
Application information
The following information is displayed in the application information:
- Name of the application
- Version number
Further information can be provided by the developer via Developer Cockpit, for example:
- Third-Party Software
- Documentation
Application information cannot be edited via Settings. You can find more information about how to edit the application information in OS Bar in the developer documentation . The following graphic shows the application information displayed in the OS Bar:
Insights Hub information
The "powered by Siemens Xcelerator" displays the following general information:
- Current Insights Hub version
- Link to the Industrial IoT Store
- Link to status page with the latest information on updates and maintenance
Tenant-specific adjustments
With the "Provider" function you can customize your tenant by providing basic information about the company. Furthermore, you can define links that provide custom information. Links to custom pages link to the corporate information or the support page of your company. These links can be seen in the OS Bar on the Launchpad. If you do not create your own specifications, the Siemens default information is displayed. With the "Provider" function, you have the option for every tenant to individually configure the following:
- Contact information
- Company information
- Links to additional information
- Tenant provider links in different languages
- Regions which contain several countries (only available within an Operator tenant)
- Basic tenant information
The company-specific links are only visible to users that do not have the TenantAdmin role. Users with the TenantAdmin role continue to see the default information.
Support of multilingualism
Every tenant is assigned to only one country. Nevertheless, users from other countries can access a tenant. Users from other countries usually have their browsers set to the regional language.
The OS Bar of a tenant displays company-specific links. You can configure these links in different languages in the "Provider" function, to support users from other countries. If the set browser language is not configured, the links are shown in the "default" language. You cannot edit or configure the "default" language.
After the configuration of a new language in the "Provider" function, the user sees the company specific links in the language set in the browser.
Create regions
Note
The "create regions" functionality is only supported in Operator tenants.
"Provider information" offers the option to configure your own regions. With "Create regions" you can specify links for a certain region with several countries. A region can be, for example, South America. For this region, you can add the respective countries and configure the language of the links as needed. This case occurs when different regions or countries have different legal requirements for links. For example, a tenant in South America can see different information than a tenant in Europe.
User interface "Provider"
The following graphic shows the "Basic information" area within the "Provider" interface:
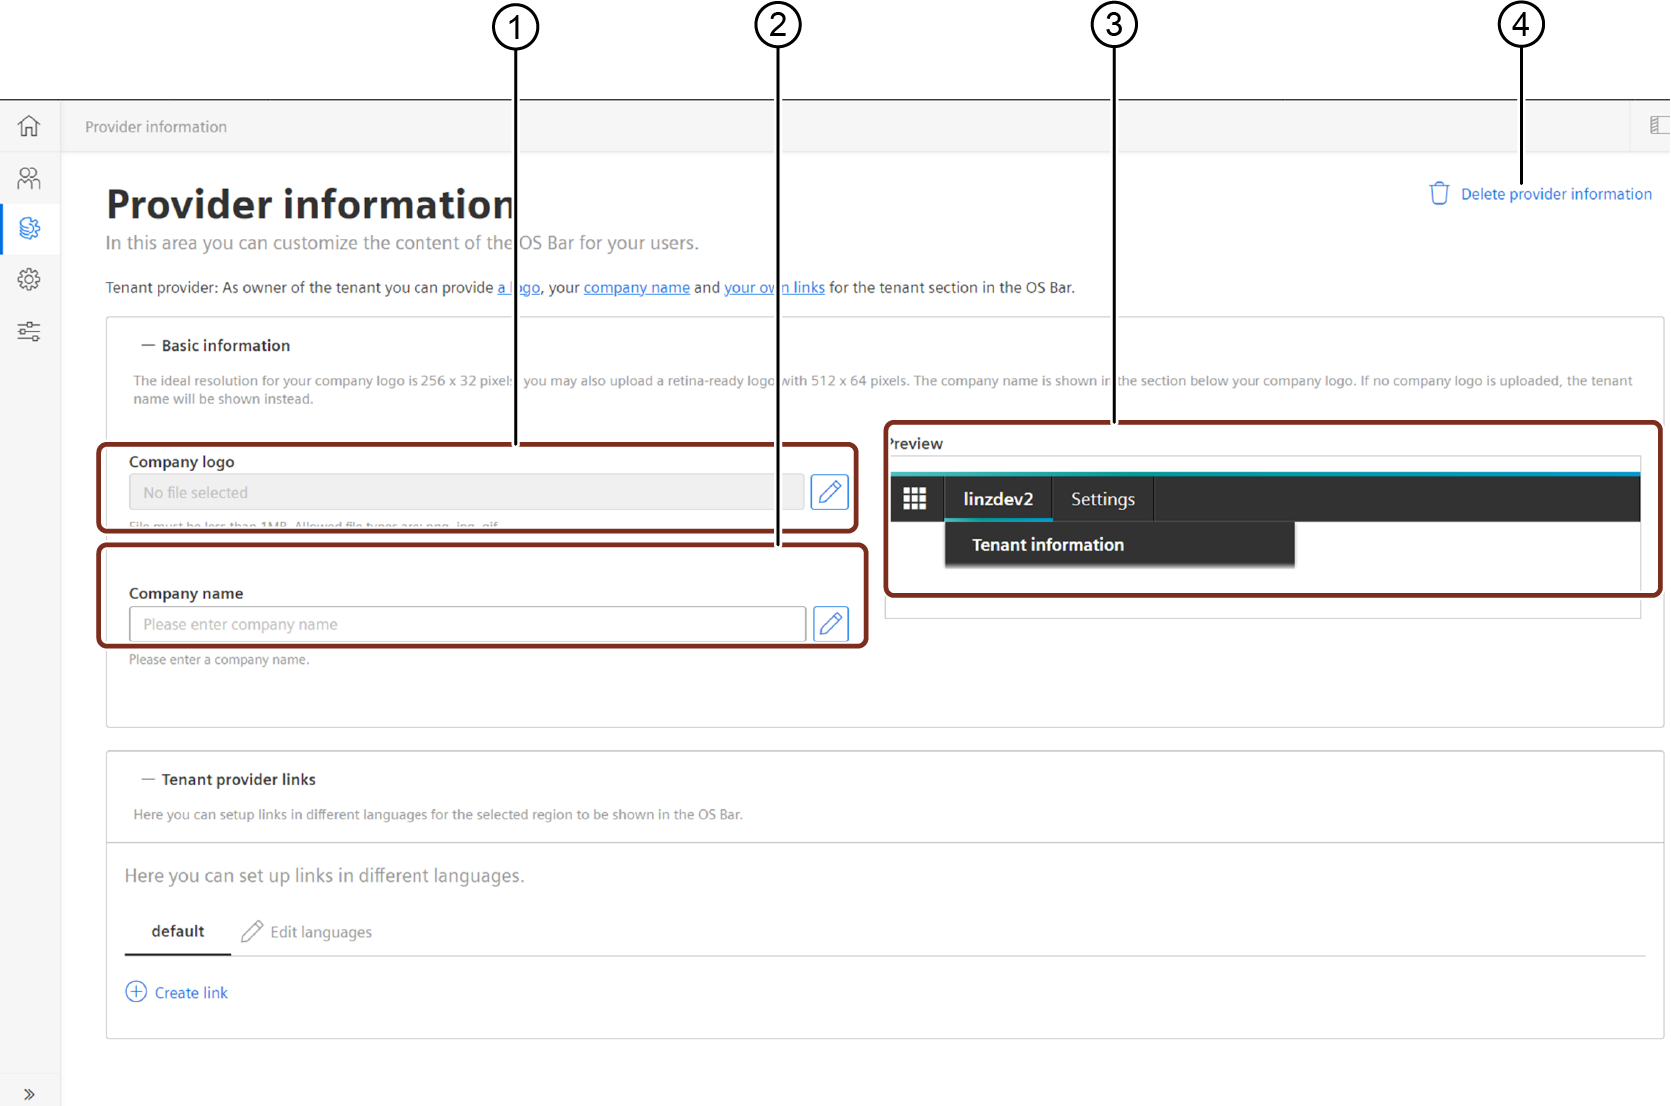 ① Upload or edit your company logo
② Add or edit your company name
③ Shows a preview of the added information
④ Delete the provider information
The following graphic shows the "Tenant provider links" area within the "Provider" user interface:
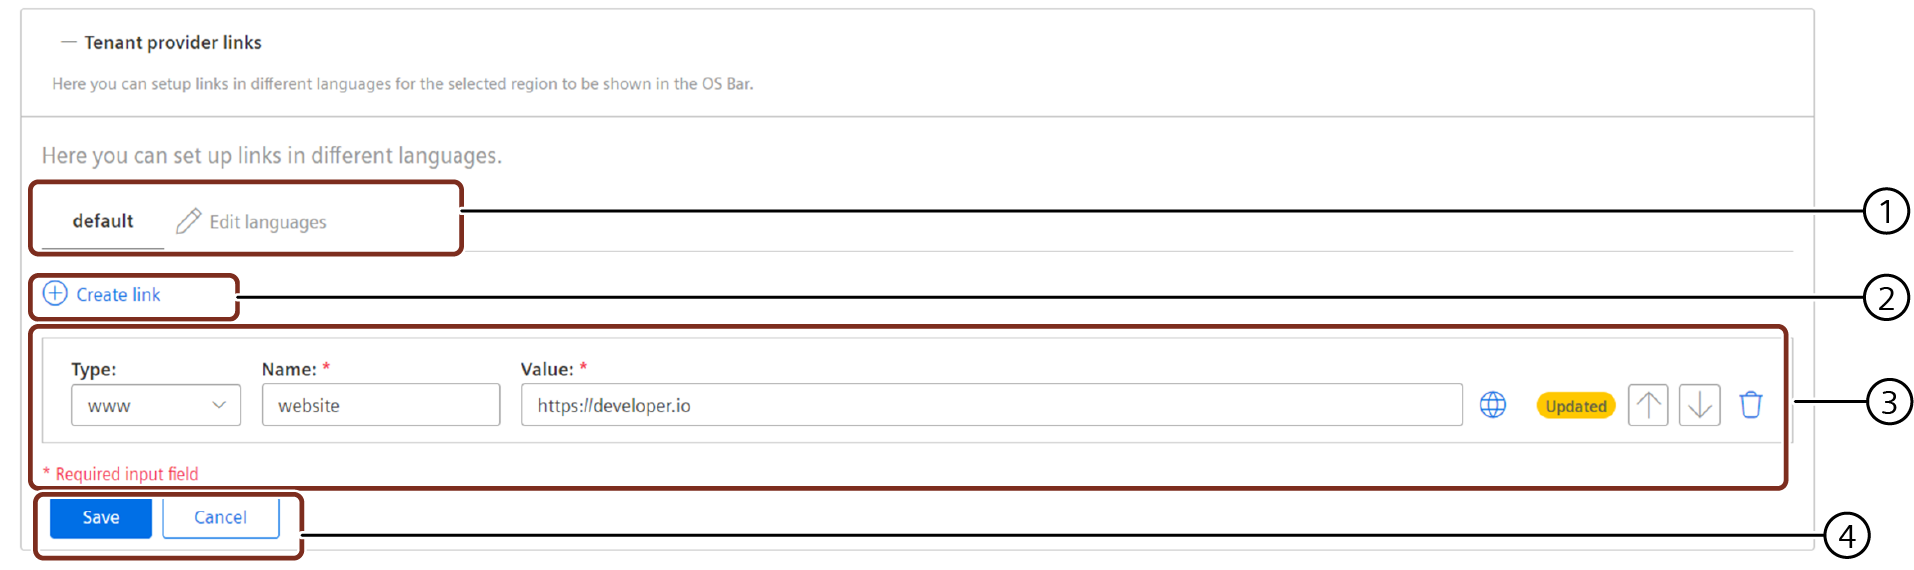 ① Shows the default language which is adopted from the set browser language as well as the option to add more languages with "Edit language"
② Creates a new bar to add the link details
③ Shows the link parameters and buttons for adjustments
④ Save or cancel settings
Parameter for links
The following table shows a description of the link parameters:
| Parameter | Description |
|---|---|
| Type | Select the link type: E-mail address, Web link, Telephone number |
| Name | Add an individual name for the link. |
| Value | Add a specific value for the link type: E-mail address, for example contact@mindsphere.io; URL, for example https://www.mindsphere.io; Telephone number |
Symbols
The following table shows the buttons of the link parameter area:
| Symbol | Description |
|---|---|
| Opens the URL to check if it is correct. | |
| Opens your local e-mail client to check if it works. | |
 | Opens a telephone app and asks if number shall be called. |
| Moves the link downwards. | |
| Moves the link upwards. | |
| Deletes the link. |
Edit tenant basic information
Procedure
To create the basic information, proceed as follows:
- In the navigation area, click "Provider".
- Open the area "Basic information".
- Upload your company logo as a png, gif or jpg with file size less than 1 MB.
- Enter your company name.
- The changes are saved automatically.
- In order to confirm your changes, click the check or press enter.
Result
The "Basic information" area shows a preview of your company logo and company name in the OS Bar. The following graphic shows the result in the OS Bar:
Creating links for different languages
The following example shows how you can define own provider links in Settings.
Example scenario
The MindEdge Corporation, based in Germany, has a tenant with users from Spain. The links in the OS Bar should be displayed in the regional language Spanish for the Spanish users.
Objective
- The new language "Spanish (es)" should be set.
- The defined links should be displayed in the OS Bar in Spanish for Spanish users.
Procedure
In order to create a new link for a new language proceed as follows:
- In the navigation area, select "Provider".
- The "Provider information" interface opens.
- To open the "Tenant provider links" area, click on
 .
. - Select "Edit languages".
- The "Edit languages" dialog box opens.
- Select the language that need to be configured for the translation of the links and click
 ,e.g. "Spanish: Castilian".
 - To save the selected language and close the dialog, click "Save".
- In order to create a new link, select the language and click "Create link".
- A new row with input boxes appears.
- Select the type of the link in the "Type" box, for example "www".
- Enter an individual name in the "Name" box, e. g. "Spanish support" .
- Enter a valid URL in the "Value" box, e. g. "https://www.mindsphere-support.es" .
- To test the link, click
 .
. - To save the settings, click "Save".
Result
The new language "es" is displayed in addition to the default language "default":

The new link for a new language Spanish was created in Settings. Spanish users will now see the Spanish link in their Launchpad and will be redirected to the set URL.
Create new regions
Note
The function "create regions" is only available in Operator tenants.
Procedure
To define a new region, proceed as follows:
- In the navigation area, click "Provider".
- The "Provider information" interface opens
- To open the "Tenant provider links" area click on .
- Click on "Create region".
- The dialog "Create region" opens.
- Add an individual region name.
- Select the countries from the list "Available countries" as needed.
- To assign the countries click .
- To save the configuration click "Create".
Result
The new region has been created.