Data Management
Data Management features include creating and maintaining the data sources and datasets. For more information, refer to the following topics:
- Creating a Data Source
- Searching Data Sources
- Creating a Dataset
- Sharing a Dataset
- Deleting a Dataset\
Note
The dataset feature is going to be deprecated from all the platforms very soon. Currently, it is not available in Azure Private Cloud environment. For more information, refer to datasets.
Data Sources
Data source is a configuration explaining from where to pull the data and how much data to pull for the model execution. The jobs user runs in PRL use data that derive from data sources. A data source can be used as input data source or output data source by a job. Predictive learning enables a data scientist to consume data from multiple data storages by providing below data sources:
- Integrated Data Lake (IDL)
- A reference to the folders in IDL helps models to access the data to read and write to IDL.
- Internet of Things (IoT)
- A configuration to read the timeseries data from an Asset.
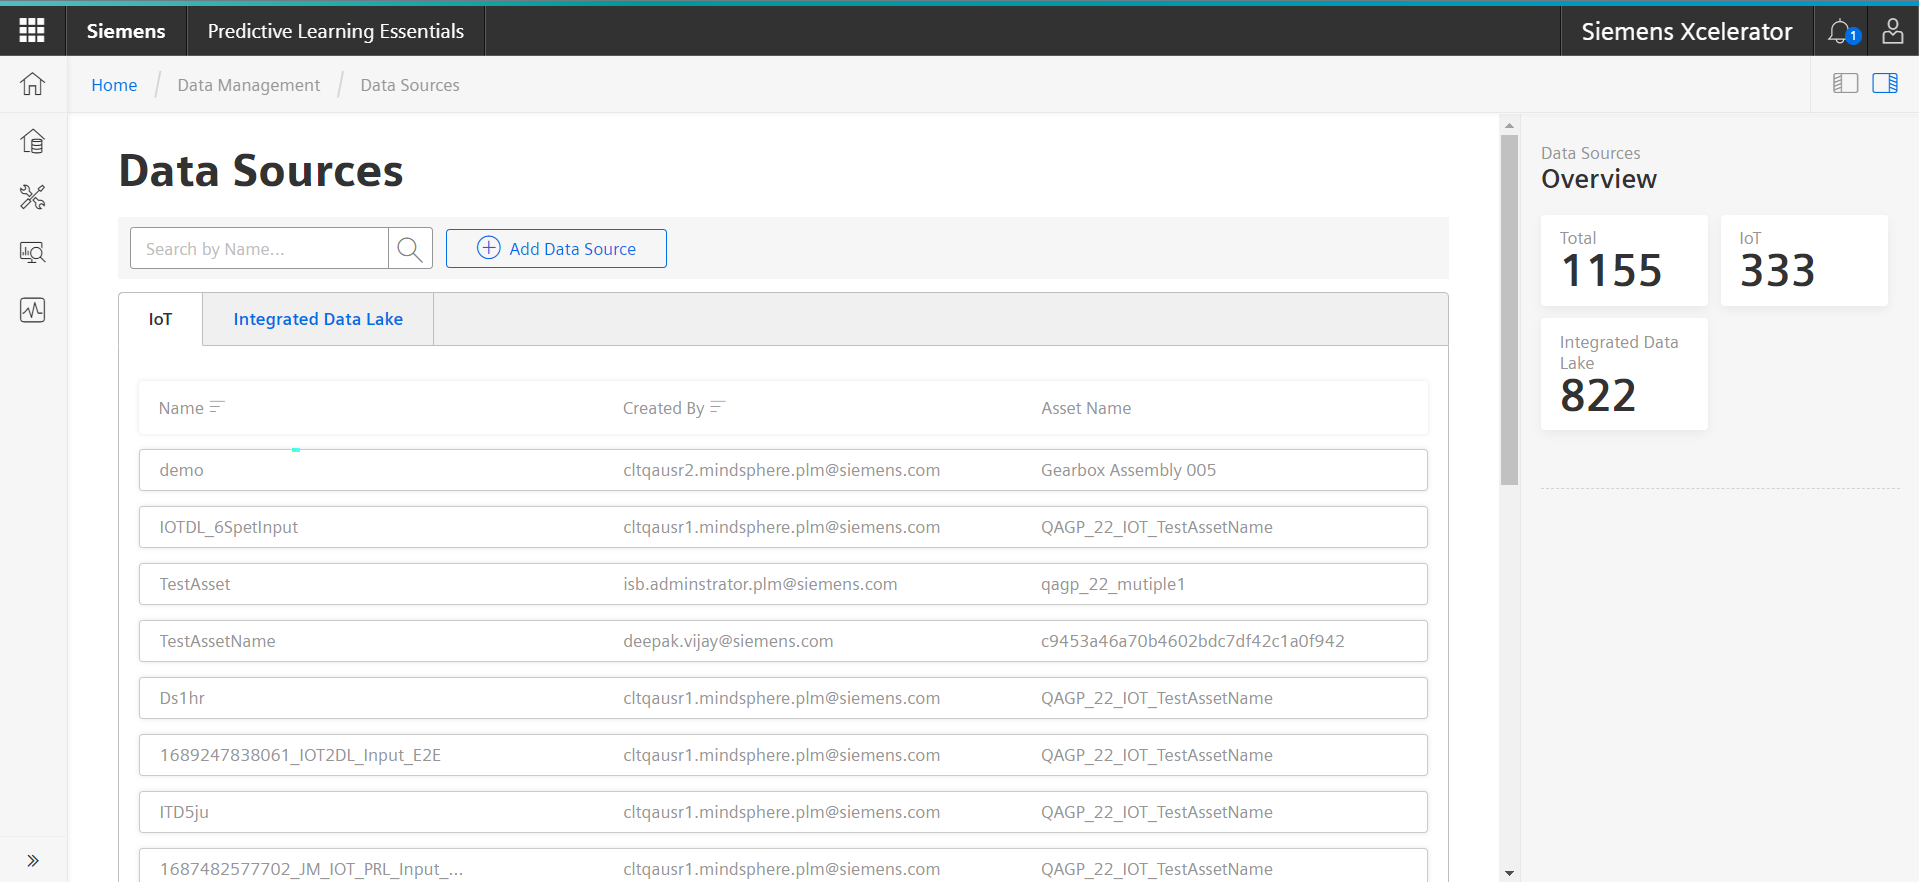
Example of Data Sources Page
Here is an example of the Data Sources Page that illustrates some of the actions you can take with data sources:
Creating a Data Source
Follow these steps to create a data source:
- Click "Add Data Source" in the Data Management section.
- Select a data source location, and click "Next".
- Enter a name for the data source.
- For IoT, select the number of hours, and click "browse" to select an asset and aspect or, for IDL, select the folder and file.
- Click "Save".
Actions Available for All Data Sources
All data sources allow users to:
Search for a data source—enter a data source name in the search bar at the top of the Data Sources table . Only data source names can be searched. As you enter search characters, the UI displays the Data Source locations that contain files with matching names. You must click the Data Source location to expand it and view the actual files.
Datasets
Create the dataset in integrated data lake using the data lake time series import and use it in the Predictive Learning. The examples are given to read the data from integrated data lake to the Predictive Learning jupyter-notebook-samples.md
Note
The dataset feature is not available in azure private cloud environment. User can use this feature from integrated data lake.
Dataset is a static set of data pulled from IoT for a particular asset for a particular time interval. Datasets usually used in Model Management.
The Datasets page displays a table of the datasets you have access to, and a right side "Overview" panel which shows summary information about all of your datasets.
When you select a dataset in the table, the right side panel changes to "Details" and shows facts about the selected dataset.
Here is an example of the Datasets page, showing Overview information in the right side panel:
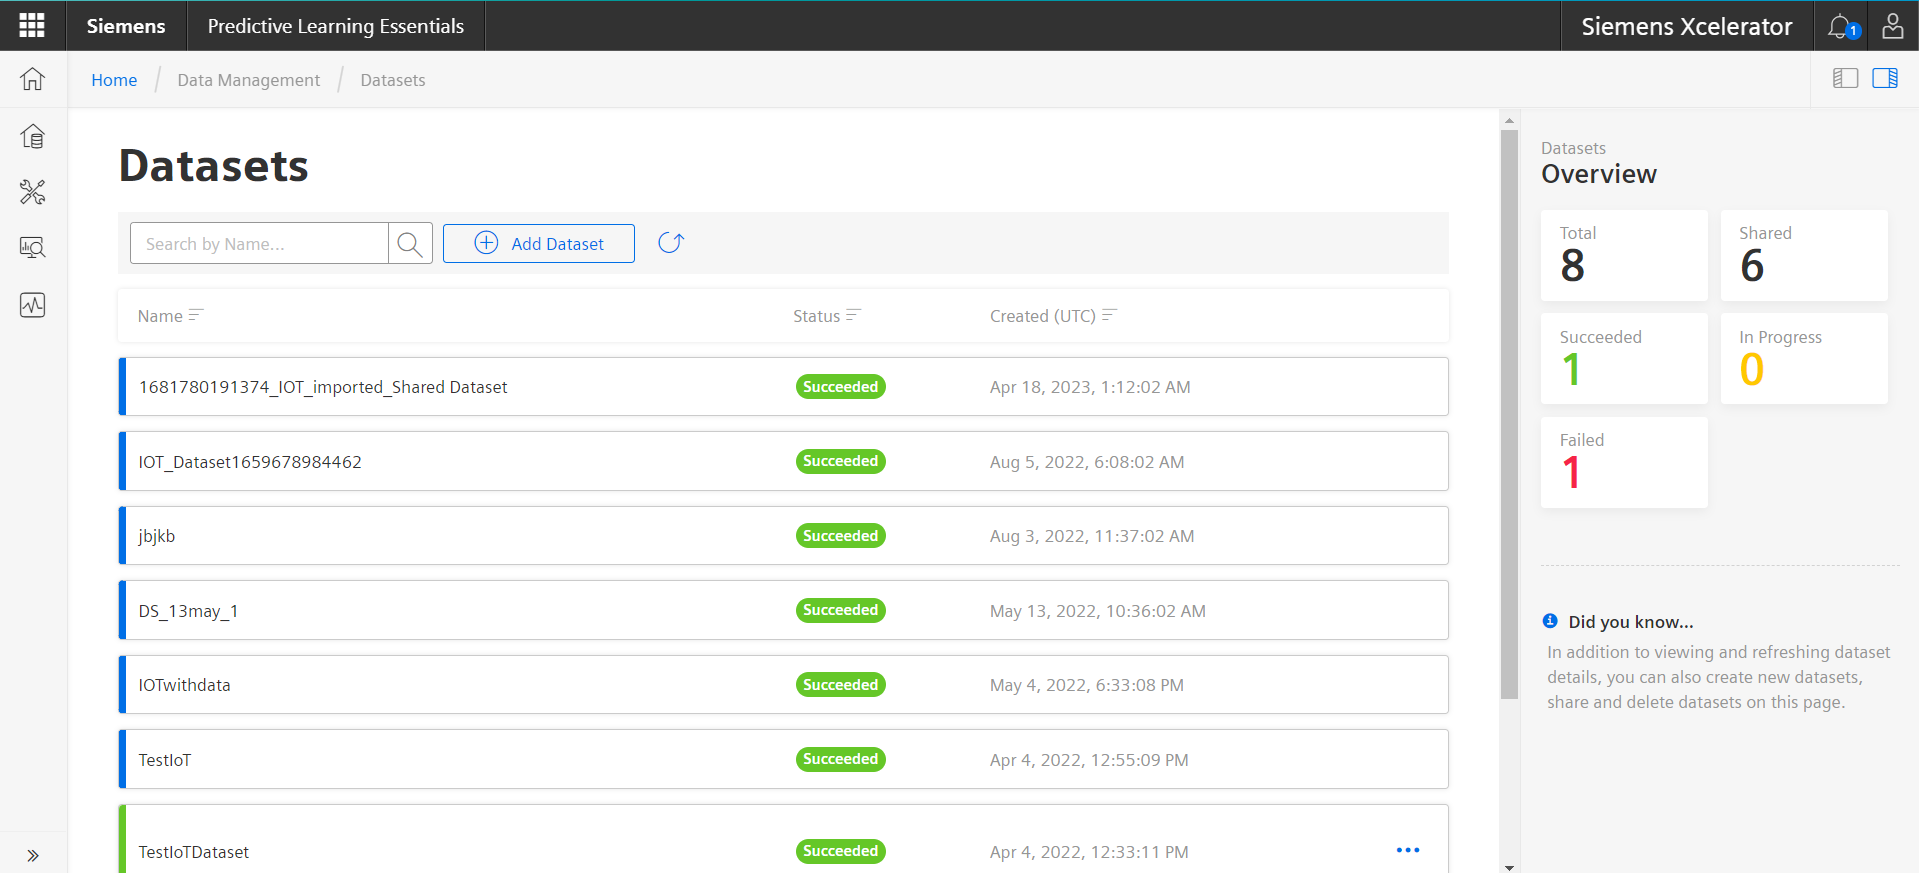
Actions Available on the Datasets Page
Here are some of the things you can do on the Datasets page:
- View dataset details by clicking a row in the dataset table. Details appear on the right side panel.
- Create a new dataset by clicking the "Create a Dataset" link.
- Refresh a dataset contents by clicking the refresh icon.
- Share a dataset by selecting the share icon from the ellipses menu in the row of the dataset you can share your dateset with the other PrL users of the tenant. Dataset shared to you cannot be reshared. This feature is not available in local private cloud environment.
- Delete a dataset by selecting the delete icon from the ellipses menu in the row of the dataset you want to delete. This feature is not available in local private cloud environment.
Creating a Dataset
Datasets used in PrL include aspect data coming from one of your assets over a time range you specify.
Follow these steps to create a dataset:
- Select "Browse Datasets" on the PrL landing page, then click "Add a Dataset"; or click the "Add Dataset" link from the Quick Actions area. The "Add an IoT Dataset" page displays.
- Click anywhere in the date range field and select "start" and "end dates" from the calendar pop-up window.
Users can set a maximum of 90 days time range. - Click "Browse" in the Inputs section.
- Select an asset and aspect.
- Click "Proceed". The "General" section displays.
- Enter a name for the new dataset and description (optional).
- Click "Create a Dataset". The Datasets page displays the new dataset at the top of the table, with a status of "Running".
Once the dataset is created, the status changes to "Succeeded" or "Error" if there was a problem with the process.
Except where otherwise noted, content on this site is licensed under the Development License Agreement.